Many recordists with personal-studio-level consoles are at a distinct disadvantage when it comes to getting a signal to tape (or hard drive) unscathed because of the typically inferior quality of budget consoles’ microphone preamplifiers. Even the mic preamps found in some top-notch consoles leave a lot to be desired. Add to that the frequent need to equalize and provide dynamics processing before hitting tape (or other media), and it’s no wonder channel strips have been popping up from manufacturers in all price ranges.
The Trak Master, the newest member of the budget Platinum series from Focusrite in Britain, retails for only a fraction of the cost of the company’s high-end — and highly respected — Red and Blue range units. But does that mean the unit offers just a fraction of the performance of its costlier cousins? To answer that question, I subjected the Trak Master to rigorous testing and real-world use in the studio.
GENTLEMEN PREFER PLATINUM
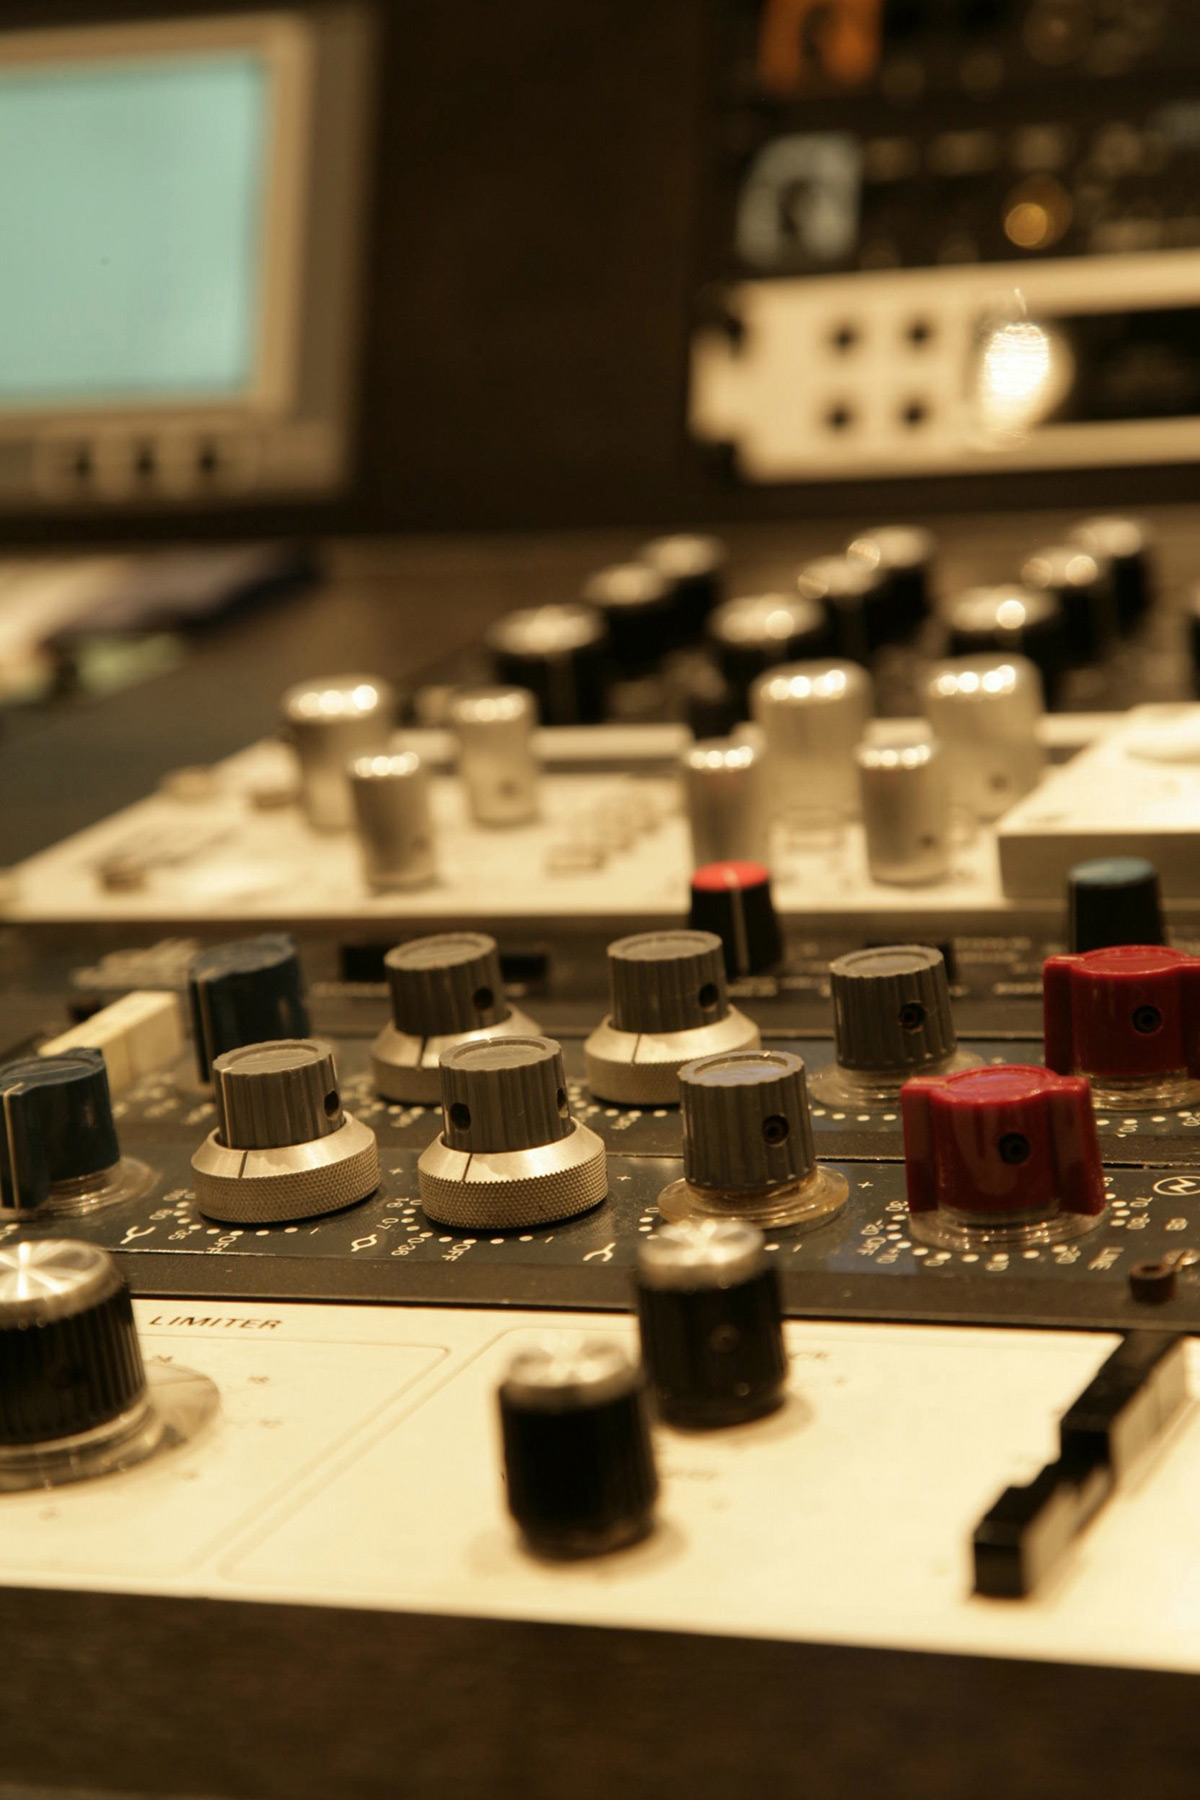
Although it is manufactured in China rather than the United Kingdom (where the Red and Blue range units are made), the Trak Master doesn’t look like a budget unit, thanks in part to its snazzy brushed-aluminum front panel. The controls are nicely laid out, and the black legending is easy to read in low-light situations. Slightly sticky (in a good way) rubberlike knobs (all continuously variable) provide you with a sure grip, and there’s a gaggle of LED indicators, including a blue power LED that adds a distinct touch of class. Further upping the ante, the Trak Master’s microphone preamp is a discrete-transistor, Class A design.
From left to right, the unit provides four sections — labeled Discrete Preamp, Optical Compressor, 3-Band Equaliser, and Output Level — clearly separated by black dotted lines. The Discrete Preamp section provides a +48V phantom-power switch; a balanced XLR mic input; a high-impedance ¼-inch instrument input; an Input Gain knob, which ranges from -3 to +57 dBu; a Line switch (used to select a rear-panel line input); a switch that engages a 75 Hz highpass filter (this filter affects the mic input only); and two status LEDs, one for signal-present (marked SIG) and the other for overload (marked O/L). The two front-panel inputs are selected when the Line switch is disengaged; if a mic and instrument are connected simultaneously, the instrument input overrides the mic input.
The Optical Compressor section provides a Compression knob (marked simply Less and More at the extremes, with hash marks in between); a switch labeled Tight that selects a 6:1 compression ratio when engaged and a 3:1 ratio when disengaged; a switch labeled Punch that is said to restore “punch” lost to compression; a six-segment Gain Reduction meter with LEDs marked -20, -16, -12, -9, -6, and -3; a Release knob (marked Fast and Slow at the extremes, with hash marks in between); a Tube Sound knob (marked Cool and Warm at the extremes, with hash marks between); a Makeup gain knob that ranges from 0 to +20 dBu; a Post EQ switch that, when engaged, causes the compressor to process the signal after the 3-band EQ section rather than before it; and an illuminated Comp In switch (which engages the compressor section).
The 3-Band Equaliser section is itself divided into three sections: Bass, Presence, and Treble. In addition, two Inst./Vocal switches — one each for the Bass and Treble sections — let you choose among different set frequency ranges. The Bass section has a center-detented Gain knob and a Freq knob. When the Inst./Vocal switch is engaged (Inst. mode), the Bass section acts as a low-frequency shelving EQ and permits selection of values in the 25 to 400 Hz range using the Freq knob; when it’s disengaged (Vocal mode), the Bass section acts as a low-mid parametric EQ and permits selection of values in the 50 to 800 Hz range.
The Presence portion of the 3-Band Equaliser consists of a center-detented Gain knob that allows cut or boost at 1.5 kHz. There is no way to adjust the bandwidth of the filter.
The Treble section comprises the aforementioned Inst./Vocal switch and a center-detented Gain knob that allows 14 dBu of cut or boost. When the Inst./Vocal switch is engaged (Inst.), the high-frequency shelving filter acts on frequencies above 3.3 kHz; when disengaged (Vocal), it acts on frequencies above 10 kHz. There’s also an EQ In switch, which engages the entire equalizer section.
Last, the Output Level section provides a seven-segment meter with LEDs indicating -20, -10, -6, -4, -2, and 0 dBu levels, as well as overload (marked O/L); a Fader knob that ranges from -• to +6 dBu; a status LED labeled ADC Lock (for the optional digital output; more on that in a moment); a power switch; and the aforementioned blue power-status LED (labeled On).
Regarding the front-panel layout and design, I like that the phantom-power switch is right next to the XLR jack rather than on the back of the unit, as is often the case. It’s also convenient having the instrument input on the front panel, especially when the unit is rackmounted. One thing I don’t like, though, is the low resolution (3 dB) of the Gain Reduction meters in the compressor section. Even with only 6 LEDs, 2 dB steps would have been much more useful — after all, how often does one apply 20 dB of gain reduction?
BRINGING UP THE REAR
The Trak Master’s rear panel (see Fig. 1) provides two ¼-inch output jacks, one a balanced +4 dBu TRS and the other an unbalanced -10 dBV TS. The outputs are simultaneously available, which is useful for circumventing signal latency when recording into a computer-based digital audio workstation — you can use one output to monitor the input in real time while the other sends the signal to the sound card. There is also a ¼-inch balanced +4 dBu TRS line-level input jack. I would like to have seen a +4 balanced XLR output, as well.
The optional digital output card ($250), which installs on the rear panel of the Trak Master, is 24-bit and can operate at 44.1, 48, 88.2, or 96 kHz sampling rates. It provides an S/PDIF digital output on an RCA connector, an external word-clock input on a BNC connector, and two switches for selecting the sampling rate. When installed, the card activates the Trak Master’s ¼-inch ADC Ext Input (also located on the rear panel); an additional line-level signal can then be routed through the spare channel of the stereo digital output. However, the Trak Master I received for review was not fitted with the digital output card.
Under the hood, the Trak Master is equipped with a nice toroidal transformer. However, there are no user-serviceable parts inside the unit, and there’s a surprising amount of unused space. Most of the components are surfacemount technology, and none of the IC chips are socketed, so forget about trying out different chips to change the sound of the unit. Moreover, I/O jacks are mounted directly to the PC board, which isn’t so great but is to be expected at this price point.
BE PRE-PARED
The Trak Master’s manual lists an amazing bandwidth specification of 20 Hz to 250 kHz for the mic pre section. According to conventional wisdom, that is significant overkill for audio applications. Still, certain studies indicate that some people can perceive differences in sonic quality between components that offer extended bandwidth and those that don’t. Of course, when it comes to audio, specifications alone are largely meaningless. Some devices that measure terribly — the venerated Fairchild 670 limiter, for example — sound great (and vice versa).
To evaluate the sound of the preamp, I did my initial testing with the compressor and equalizer switched off. I used a variety of microphones, including a 3035, a 4051, and a 4060 from Audio-Technica; a Microtech Gefell KMT 71; and a CAD E200. I patched the Trak Master directly in to my Sony/MCI JH-24 24-track, 2-inch tape deck and recorded vocals (male and female), bass guitar, synth bass, electric guitar, and snare drum. In the end, I concluded that the Trak Master’s mic pre section (including its instrument input) is the unit’s strongest feature. It sounded slightly lean — a tad bass shy and not really “fat” — but good overall, especially given its cost.
I especially liked the Trak Master as a direct injection box for bass guitar; it offered a nice balance between quickness and roundness. To get a better sense of how the Trak Master fares as a dedicated bass preamp, I had Robert Graham, the bass player in my band, swap out the vintage Alembic F2-b preamp that he normally uses for the Trak Master. Considering that the Alembic is a tube-based preamp (basically a Fender Bassman input stage), I was surprised by how similar the solid-state Trak Master sounded. (That was without engaging the Trak Master’s Tube Sound feature.)
THE BIG SQUEEZE
The Trak Master’s optical compressor should, in theory, afford smoother results than the more common voltage-controlled-amplifier (VCA)-based units. But again, topology isn’t nearly as important as implementation.
The Trak Master compressor sounds great on bass-guitar and synth-bass applications. I liked it quite a bit less on vocals, though with the right vocalist and microphone, it can yield some impressively edgy textures. Some hard-rock vocals I recorded with the CAD E200 were well within the range of acceptable, but I wouldn’t look to the Trak Master for subtle gain reduction.
I rarely use compression when I track kick or snare drum, primarily because I record to 2-inch analog tape (and I therefore don’t need it); however, I was curious to see how the Trak Master would perform on kick and snare tracks when recording with the compressor section engaged. I miked my 22-inch maple GMS kick drum with an AKG d12e dynamic microphone. The Trak Master preamp captured the sound of the drum nicely, though the sound was slightly thinner than what I’m accustomed to.
Switching the compressor (with the 3:1 ratio selected) into the signal path yielded some interesting tones, especially with the Punch button engaged (this lets more transients through the compressor) and a long release time. The Post EQ switch — a rare feature in units this affordable — allowed for even more variation in tone. I was able to dial in a booming kick sound with lots of overhang, for example, by engaging the Post switch, boosting the lows, and turning the Release knob to its slowest setting. But only the 3:1 ratio worked satisfactorily for recording kick: when I selected the Tight button (which changes the ratio to 6:1), I heard an unwanted clicking sound.
I had a bit less luck with the Trak Master on snare drum. On a 14-by-4-inch maple Ayotte snare drum miked with an Audio-Technica 4051 condenser — a good (and good-sounding) test mic for this application because it can capture transients faster than the typical dynamic mic — I achieved a fairly clean sound, and the compressor easily crushed the snare into submission. (Naturally, as with the kick drum, I generated better results with the Punch button engaged.) The resulting sound was rather one-dimensional, though, and overall the compressor seemed to make the drum sound smaller.
According to the Trak Master manual, which is well written and informative (the “Beginner’s Guide to Compression” section is especially helpful), the Tube Sound circuit “simulates the warmth normally associated with tube or tape distortion.” Tube Sound was slightly useful — for rounding out the sound on bass guitar, for example. But the circuit didn’t really succeed in simulating tube or tape distortion; moreover, in most applications, it, too, made things sound smaller.
As a standalone insert processor — a somewhat peripheral application, perhaps, but one that is suggested by the manual — the Trak Master’s compressor is pretty much without merit. The lack of fine adjustability of the attack and ratio controls, for example, made dialing in a good snare-drum sound nearly impossible. Forget about using it on a kick track — the Trak Master seemed to suck the animation out of the already-recorded track I tried it on. Processing a well-recorded vocal produced somewhat better results, but the Trak Master’s compressor never made things sound bigger — and that is primarily what I want from a compressor.
HIGHS AND LOWS
The Trak Master’s 3-Band Equaliser is a mixed bag. The Bass section sounded really great for bass-guitar DI duties. (I was using a Jazz-style bass with a graphite neck and a Bartolini pickup.) There was plenty of low end to be had, and it was easy to obtain a great roundness of tone.
As for the midrange band, which is somewhat misleadingly labeled “Presence” (a term more commonly referring to enhanced frequencies in the 3 to 6 kHz region), I didn’t find a single source that sounded better when the Gain control was turned in either direction. Turning it to the right (boost) yielded an annoying honk, whether on vocals, snare drum, or bass guitar. Turning it to the left (cut) sucked the life right out of vocals and guitar. The frequency of the filter and its shape seem poorly chosen.
The Treble band is quite a bit more pleasing. The Vocal setting (10 kHz shelving) can really open up a guitar track (as opposed to the Instrument setting, which adds only brightness), and it adds some presence to vocal tracks, as well. Still, a somewhat higher frequency setting — say, 12 kHz — might have sounded better.
IN FOCUS
The Focusrite Trak Master is a well-featured, easy-to-use, and quite affordable channel strip that could prove to be just the ticket for personal-studio operators seeking multiple tracking functions in a single box. The real prize is the unit’s Class A mic preamp — not surprising, given the Focusrite pedigree. I also really appreciated the convenient front-panel DI input, which is especially good for bass guitar. Indeed, I wouldn’t be surprised if the Trak Master found its way into dedicated bass rigs.
Unfortunately, the Trak Master’s compressor and EQ sections aren’t quite up to the same level as the unit’s outstanding preamp. They’re both useful in certain applications, of course, especially the low and high EQ filters; but those in search of more precise equalization and dynamics control might find more long-term value in putting together separate processors as their needs dictate.
Still, the Trak Master is overall a good value, thanks to its preamp and the number of functions it provides. Certainly, users on a tight budget who need the functionality of a channel strip could do worse for the same amount of money.
Richard Alan Salz is a producer, engineer, and composer living in southern Vermont.
Trak Master Specifications
Inputs (1) balanced XLR mic (+4 dBu); (1) ¼” high-impedance instrument; (1) ¼” line
Outputs (1) balanced ¼” TRS (+4 dBu); (1) unbalanced ¼” TS (-10 dBV)
Maximum Input Gain 60 dB (mic); 43 dB (instrument); 20 dB (line)
Maximum Output Gain 26 dB (from +4 dB balanced output)
Frequency Response 20 Hz-250 kHz (-3 dB; mic); 20 Hz-200 kHz (-3 dB; instrument, line)
Total Harmonic Distortion + Noise (@ 1 kHz) 0.002% (mic); 0.003% (instrument); 0.007% (line)
Dimensions 1U × 10.4″ (D)
Weight 9.9 lb.
COMPRESSOR
Ratio 3:1 (soft knee); 6:1 (hard knee); (switchable)
Threshold -22 dB to +12 dB
Attack Time 3 ms; 45 ms (switchable)
Release Time 100 ms; program dependent (switchable)
Makeup Gain +20 dB
EQUALIZER
Bass 25-400 Hz shelving, 50-800 Hz bell (switchable)
Midrange 1.5 kHz bell (fixed)
Treble 3.3, 10 kHz shelving (switchable)
EQ Boost/Cut +12, -14 (bass); +12, -15 (midrange); ±14 dB (treble)
PRODUCT SUMMARY
Focusrite
Trak Master
mono channel strip
$450
FEATURES 4.0
EASE OF USE 4.0
AUDIO QUALITY 3.5
VALUE 3.0
RATING PRODUCTS FROM 1 TO 5
PROS: Multiple functionality in a 1U box. Good-sounding, Class A, discrete-transistor mic preamp. Excellent DI for bass guitar. Affordable.
CONS: Poor metering for compressor. Midrange equalizer not very usable. No XLR output.
Manufacturer
Focusrite USA Inc./Digidesign (distributor)
tel. (800) 333-2137 or (650) 731-6300
e-mail sales@focusrite.com
Web www.focusrite.com